
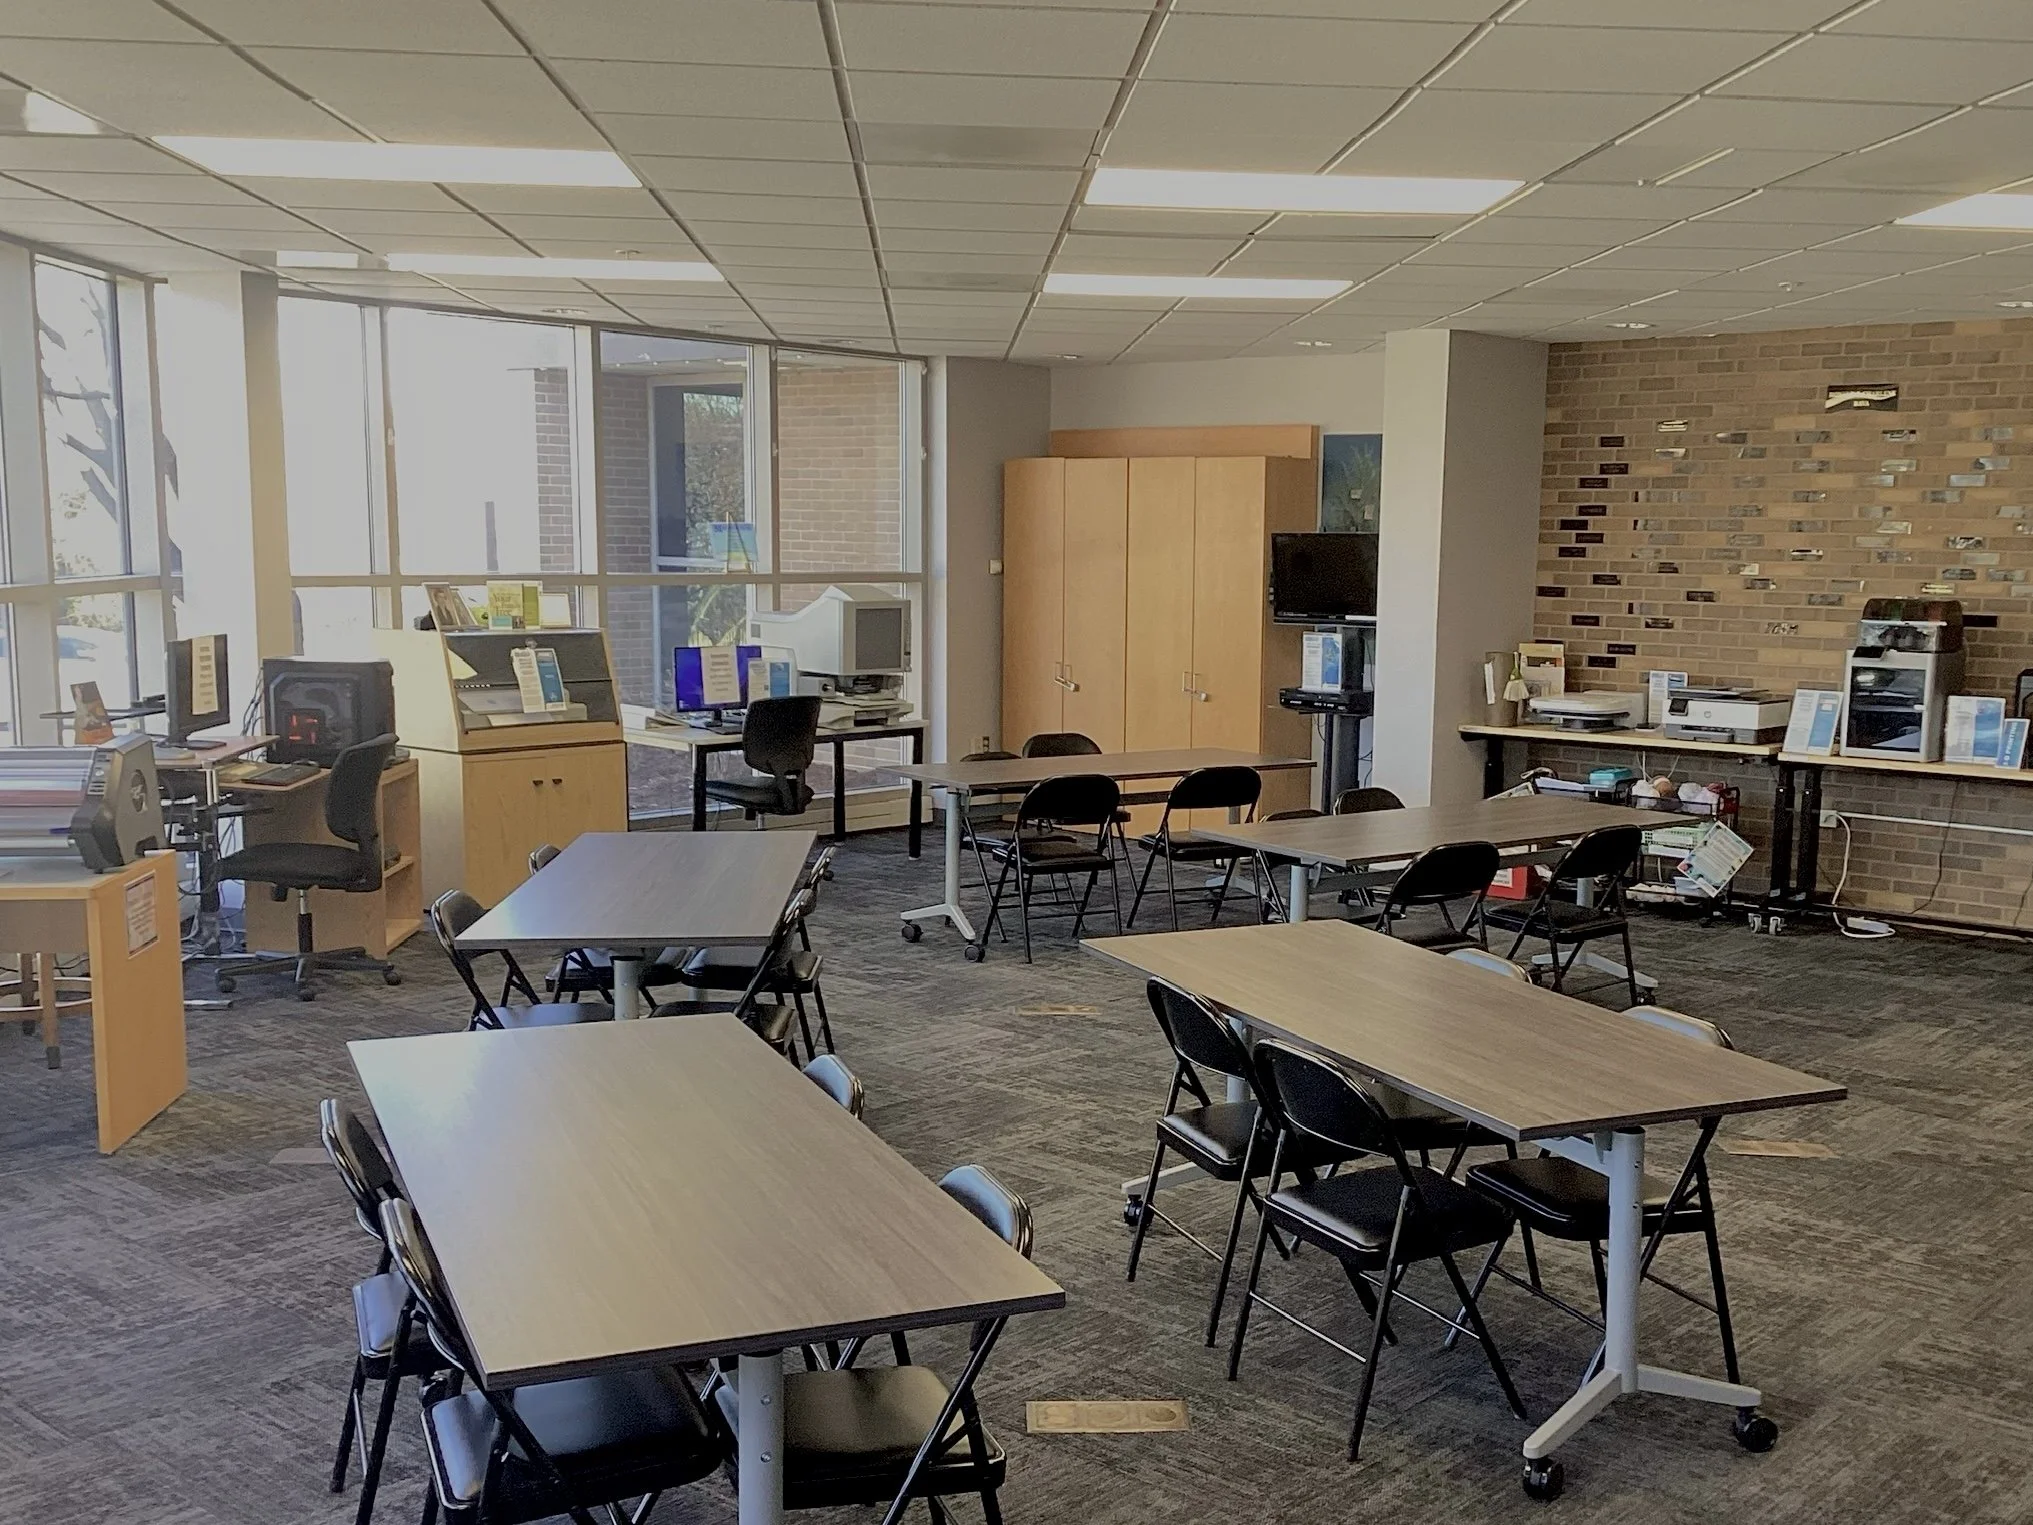
Makerspace
The Mokena Community Public Library’s makerspace offers access to emerging technologies to inspire creativity and innovation within the community. This policy outlines guidelines for public use of the library’s technology resources:
Restrictions: Patrons may not use the makerspace for creations: Prohibited by local, state, or federal law. In violation of manufacturer terms. Obscene or inappropriate for the Library environment. Infringing on intellectual property rights.
Notes: The library reserves the right to refuse any makerspace request. Only designated staff and volunteers handle designated Maker equipment. All pricing subject to change.
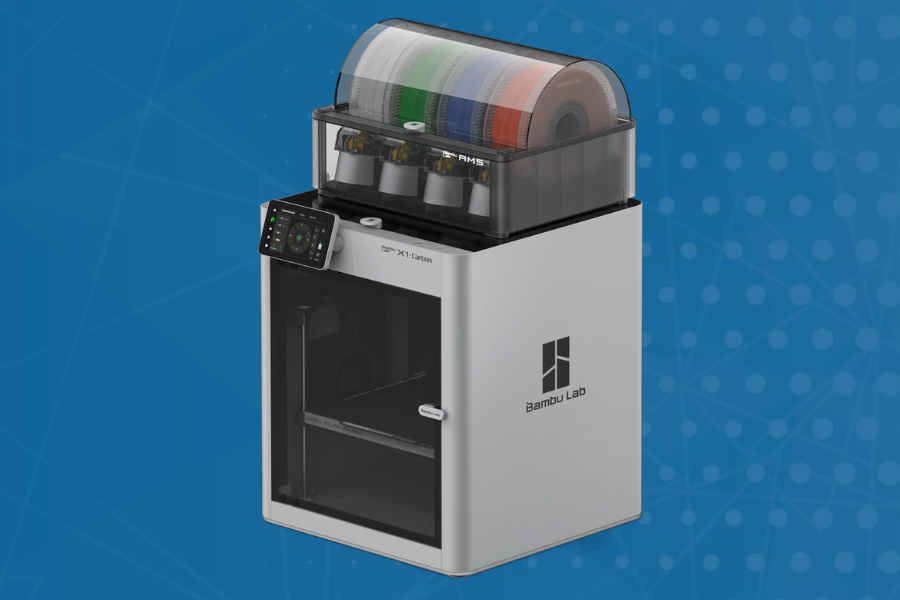
3-D Printing
What is 3-D Printing?
3-D printing is an additive process for making a physical object from a three-dimensional model, by laying down many successive layers of material. It all starts with a digital design called a CAD file. (Computer Aided Design) CAD files are created using 3-D modeling programs or with a 3-D scan of an already existing object.
3-D Printing at the Mokena Public Library:
Step 1: Have your 3D design ready. You can use Tinkercad, Thingiverse, or an Auto CAD program.
Step 2: Export the file in a .STL, .3mF, or .OBJ format.
Step 3: Submit file to our YA Services Department
Please Note: All projects MUST be in accordance with our makerspace policy. Colors are limited to what we have available at the time of your print request.
Cost: The cost is ¢5 cents per gram for the material. Cash only.
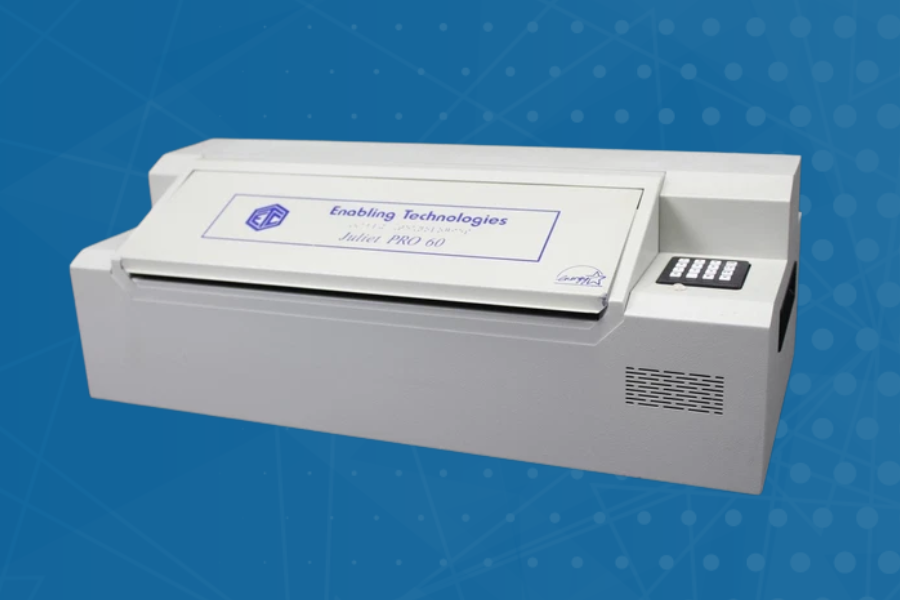
Braille Printer
What is a Braille Printer/ Braille Embosser?
A device that translates digital text into raised dots on specialized, heavy-weight paper, allowing for the creation of tactile documents for people who are blind or visually impaired. Mokena Community Library has been funded through an LSTA Grant and the Illinois State Library to install a braille printer. This printer is intended for the visually impaired or for educational purposes.
How to Use the Braille Printer at the Mokena Public Library:
Step 1: Prepare the text you would like printed in a word document.
Step 2: Contact the library to set up an appointment to print your document in braille. Please indict if it is for someone visually impaired or for educational purposes.
Step 3: Before your appointment, either send your word document to the library contact or have your file ready on a USB drive. The text copy will be processed by a translator software to translate into braille. A staff member will operate the braille printer.
Please Note: All projects MUST be in accordance with our makerspace policy.
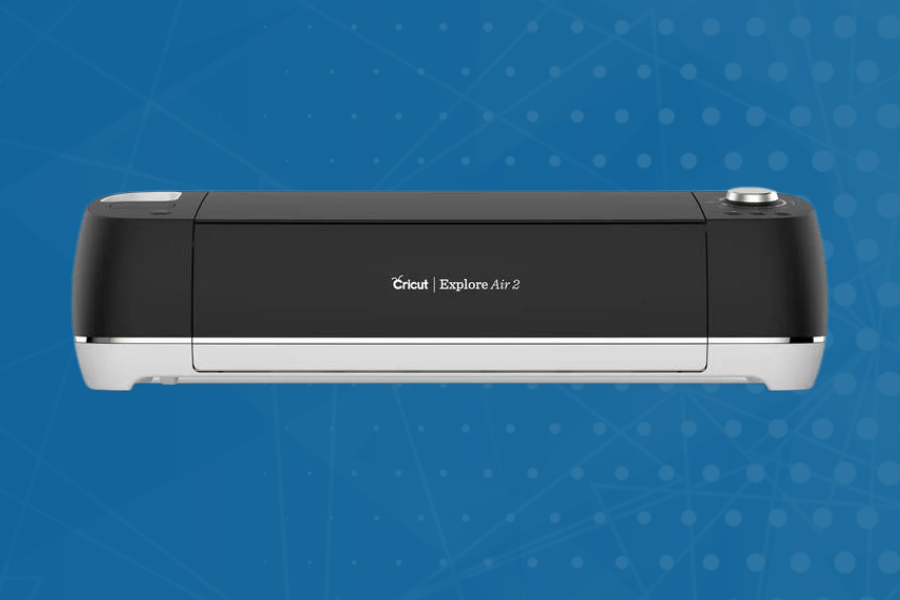
Cricut Explore Air 2
What is a Cricut?
A Cricut is a cutting machine that precisely cuts designs for using a computer or mobile device. It works with the free Cricut Design Space app to access pre-made projects or upload your own designs, creating personalized items.
Other available Cricut accessories:
Cricut Mug Press: a heat transfer machine that uses Cricut's Infusible Ink technology to create custom, permanent designs on sublimation-ready mugs. Special material required.
The Cricut Autopress: an automatic heat press that can apply heat and pressure to projects like t-shirts, wood, and leather. Special material required.
How to Use the Cricut at the Mokena Public Library:
Step 1: Download and install Cricut Design Space (design.cricut.com). Create or sign into a Cricut account. Follow the on-screen setup instructions in Design Space.
Step 2: Using the Cricut Design Space: start a new project. You can use shapes, text, and images from the toolbar or upload your own design (SVG, PNG, etc.) Resize, position, and arrange your design as needed.
Step 3: Schedule in advance a timeslot to use the machine with our YA Services Department.
Step 3: Bring Cricut Design Space account information and materials to your makerspace appointment. All materials must be provided by the patron. Limit one project per person per day if demand is high.
Please Note: All projects MUST be in accordance with our makerspace policy.
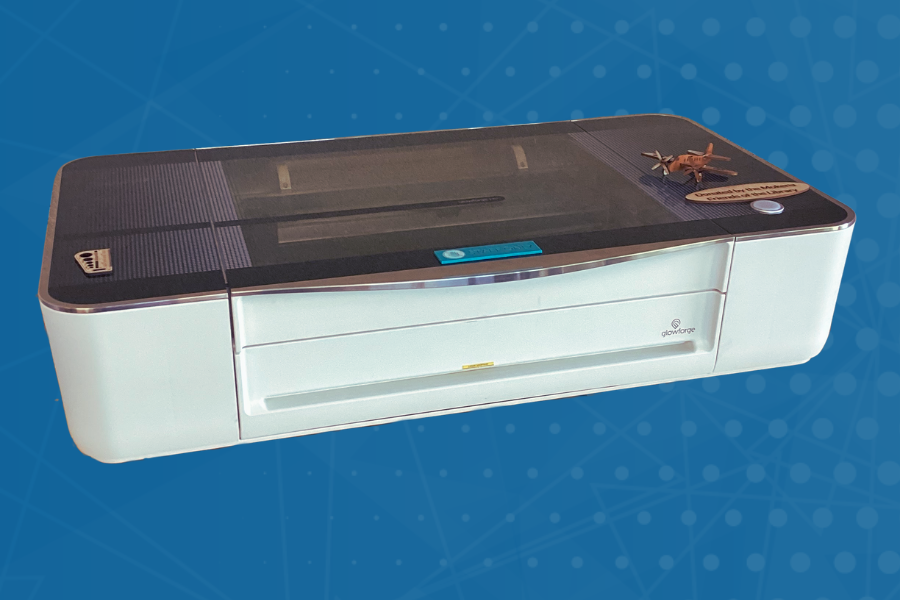
Glowforge
What is a Glowforge?
The Glowforge is a laser cutter & engraver that uses a beam of light to engrave, cut, and shape designs from a variety of materials including cardboard, wood, metal, acrylic, glass, fabric, and more.
Using the Glowforge at the Mokena Public Library:
Step 1: Have your glowforge design ready. You can find premade designs on the Glowforge website or Etsy.
Step 2: Export the file in a .SVG or .PDF format.
Step 3: Submit the file to our YA Services Department.
Please Note: All projects MUST be in accordance with our makerspace policy. Visit glowforge.com for more information.
Cost: Material offered 12"x12" MDF square for $5. Cash only.
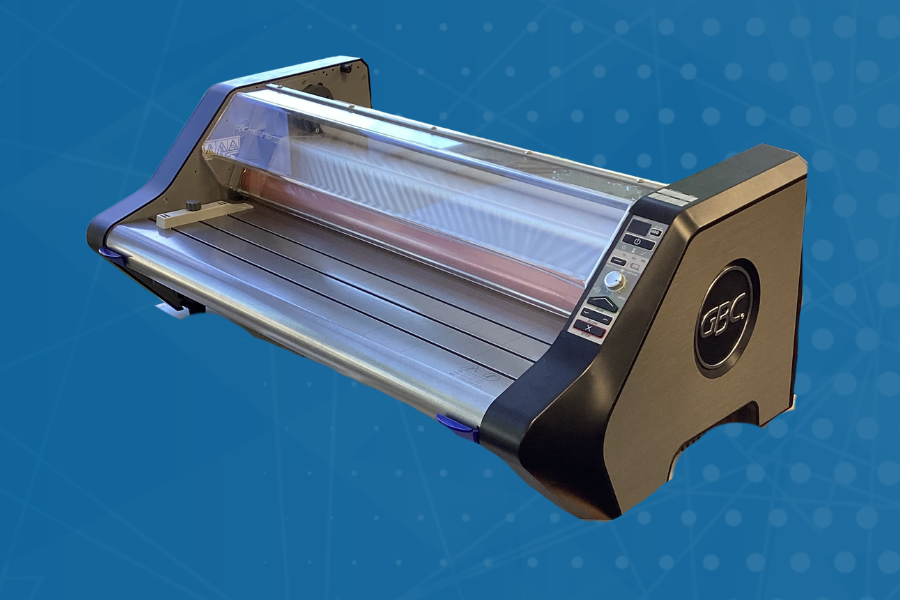
Laminator
What is a Laminator?
A laminator is a machine that protects and enhances documents by enclosing them in a clear plastic coating using heat or pressure, making them more durable, tear-proof, and water-resistant.
How to get something laminated at the Mokena Public Library:
Step 1: Bring the items you would like laminated to the library.
Step 2: Fill out a lamination form at the customer service desk. Lamination is done based on staff availability within 7 days. Pick up materials during regular business hours within 7 days of notification. The library assumes no liability for the effect of lamination on materials. Only designated staff and volunteers may handle the Laminator.
Step 3: Pick up and pay for your laminated items. Cash only.
Please Note: All projects MUST be in accordance with our makerspace policy. Laminating film is 25 inches wide and seals materials up to 24 inches wide.
Cost: Cost is ¢50 cents per linear foot with a 1-foot minimum. Cash only.
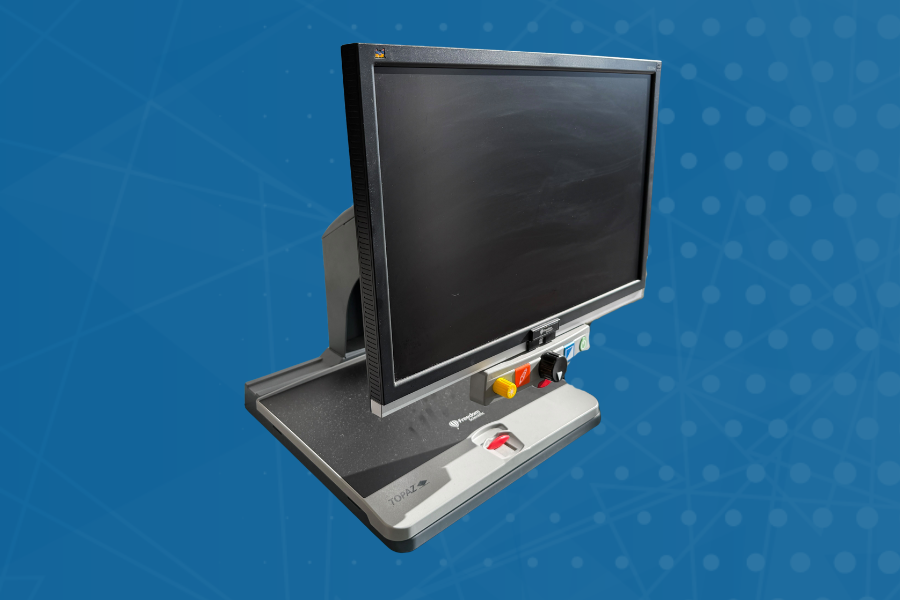
Low Vision Magnifier
What is a Low Vision Magnifier?
An optical or electronic device that enlarges text, images, or objects to help people with diminished sight to perform daily tasks like reading, writing, or viewing details.
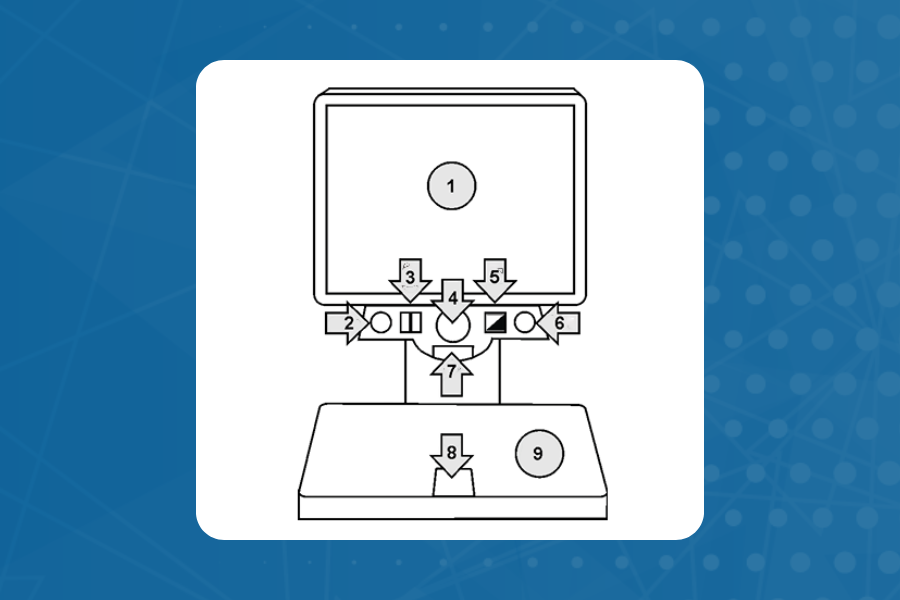
How to Use the Low Vision Magnifier at the Mokena Public Library:
Step 1: Have the items you would like to view ready (paperwork, medication bottles, etc.) Ask a staff member if the low vision magnifier if available.
Step 2: Press the small power button (no. 7 on diagram) and larger green power button (no. 6) to start viewing.
Step 3: Using the controls below. Ask a staff member if you need assistance.
Monitor
Brightness Dial
Freeze Frame
Magnification Dial
Position Locator
Video Mode Button
Power Button
Table Lock Slider
Reading Table
Please Note: All projects MUST be in accordance with our makerspace policy.
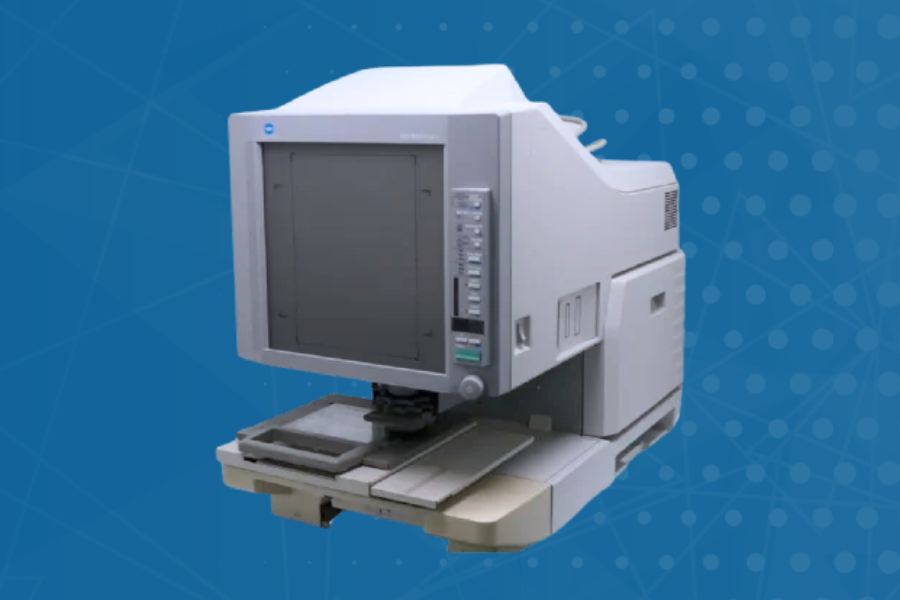
MicroFilm Reader
What is a MicroFilm Reader?
A specialized device that uses a light source and lens system to magnify, display, and sometimes print, miniaturized images stored on microfilm reels (16mm or 35mm) or microfiche sheets. Commonly used in libraries and archives, these machines allow researchers to view historical newspapers, records, and books that are otherwise too small to read with the human eye.
How to Scan Microfilm:
Step 1: Set up a reservation to use the station at the circulation desk. You can set up a reservation in advance or immediately if the station is available.
Step 2: Log in to the PC and turn on the microfilm scanner (right side, front). Manually load the desired microfilm. Select, focus, center, or adjust the microfilm as needed.
Step 3: Launch “Micro Film Scanner” to start the “XnView MP” application.
Step 4: From the “XnView MP” toolbar select File > “Acquire TWAIN”.
Step 5: On the “Microfilm Scanner” page accept the defaults and click on the “Scan” button in the lower right.
Step 6: The scanned image will appear as a .JPG file. Select File > Save As > and select the destination for the saved file, such as a USB flash drive.
Step 7: When completed, rewind and unload the microfilm and return it to the main desk.
Please Note: All projects MUST be in accordance with our makerspace policy.
Cost: USB flash drives are available to purchase at $1.00 per USB. Cash only.
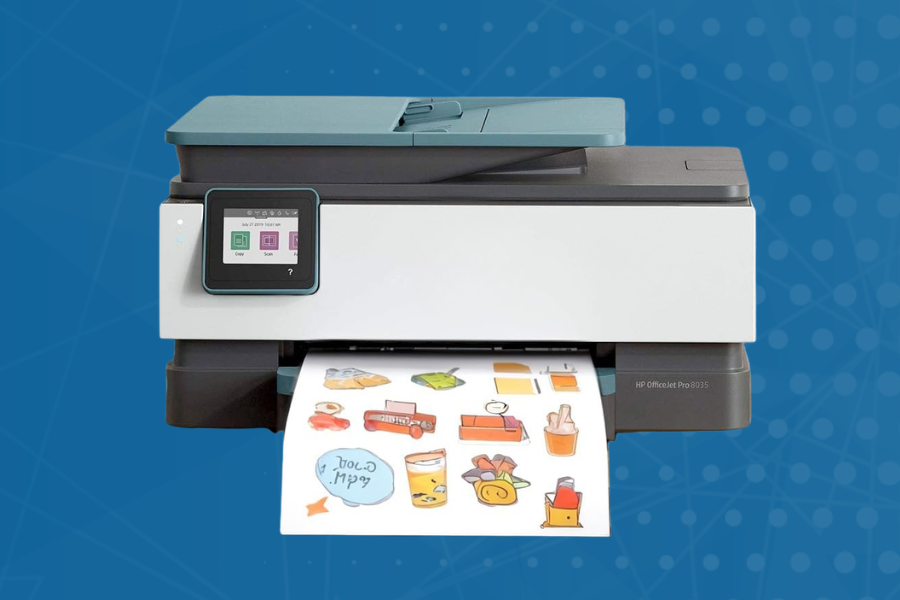
Photo & Sticker Printer
What is a Photo & Sticker Printer?
A color thermal inkjet all-in-one printer. It can be utilized for high-quality photo printing and, with appropriate sticker paper, crafting customized stickers
How to Use the Photo & Sticker Printer:
Step 1: Have your digital files and paper prepared in advance.
Step 2: Set up a reservation to use the printer at the circulation desk. You can set up a reservation in advance or immediately if the station is available.
Step 3: Add paper material and insert USB flash drive. Follow screen prompts to print.
Please Note: All projects MUST be in accordance with our makerspace policy. Paper - Patrons must provide their own materials. See right column for details. Digital Files - Have your digital files for your photos or stickers prepared on a USB flash drive. You are NOT able to connect a computer to printer. Photos or stickers must be already pre-sized to desired final size. The printer does not allow you to adjust final print size from the printer menu.
Cost: The cost is ¢15 cents per page for black & white and ¢50 per page for color. USB flash drives are available to purchase at $1.00 per USB. Cash only.
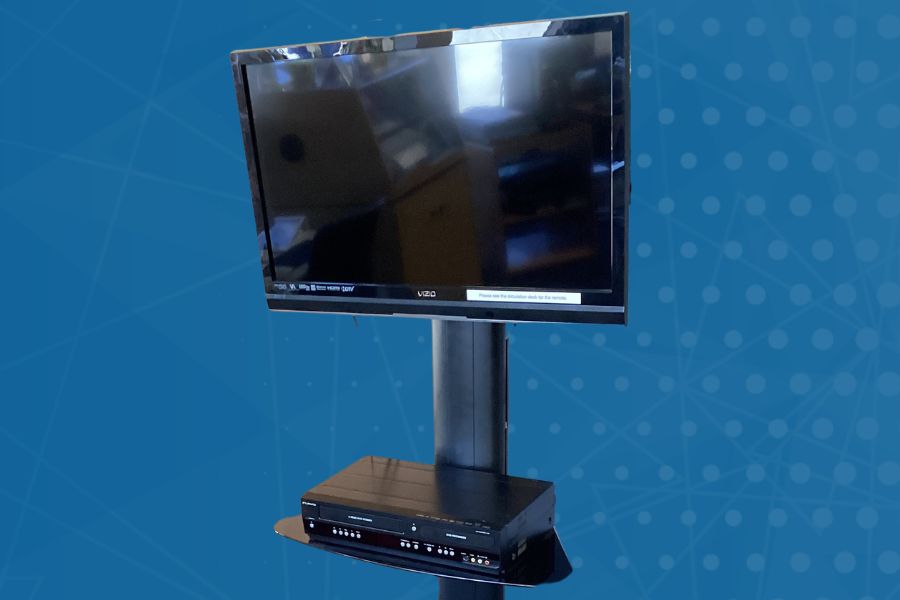
VHS to DVD Recorder
What is a VHS to DVD Recorder?
A VHS to DVD recorder allows you to transfer video and audio from a VHS tape onto a DVD disc, preserving your old recordings for modern playback.
Using the VHS to DVD Recorder at the Mokena Public Library:
Step 1: Ask a staff member to use the VHS to DVD Recorder.
Step 2: Insert VHS.
Step 3: Select DVD option on the remote.
Step 4: Wait until DVD initializing is complete.
Step 5: Play the VHS and stop it at the point you want to start the recording process.
Step 6: Once ready, click “D.Dubbing” and play the VHS.
Step 7: When you are done recording, you will need to finalize the disk.
Step 8: Select “setup” on the remote.
Step 9: Select “DVD menu”.
Step 10: Select “Finalize” then “Okay.” Once complete you are done! Eject DVD and enjoy!
Please Note: All projects MUST be in accordance with our makerspace policy. Be sure to have a signed user agreement on file at the desk. Must be a -R DVD format to work on our machine. The recording process takes at least the length of time of the original video. Example: An one hour video will take at least one hour to copy to DVD. Be prepared to stay at the library during the recording process. Disk MUST be finalized to be usable on other devices!
Cost: DVDs are available to purchase at $1.00 per disk. Cash only.
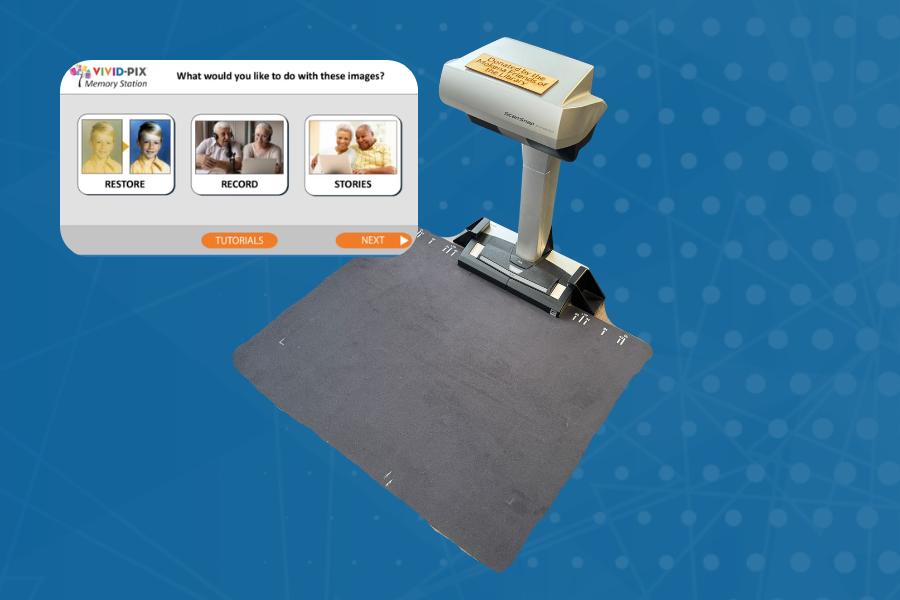
Vivid-Pix ScanSnap Scanner & Memory Station
What is the Vivid-Pix ScanSnap Scanner SV600 and Memory Station?
ScanSnap Scanner SV600: Advanced optics/illumination produce consistent image quality. Scan up to 10 photos / documents at one time. Correct curve distortion from book scans. Up to 600 dpi JPEG and PDF.
Memory Station: Vivid-Pix Memory Station scans and/or selects images from the computer, restores these images, records a voice memory describing images, and combines the photo / voice memories into an MP4 video story.
How to Use the Vivid-Pix ScanSnap Scanner & Memory Station:
Step 1: Set up a reservation to use the station at the circulation desk. You can set up a reservation in advance or immediately if the station is available.
Step 2: Scan or input your photos and memories using the memory station software.
Step 3: Select “Restore” and your images will automatically go into the restore software. Select your desired “Fix Type” then select your favorite restored image.
Step 4: Select “Record” to record a voice message. Select “Stop Record” once finished.
Step 5: Select “Stories” to combine your images and voice messages into movies. Select “Create” to create your movie.
Step 6: Save your scans and movies to a USB flash drive. USB flash drives are available for purchase at the circulation desk.
Please Note: All projects MUST be in accordance with our makerspace policy. For in depth video tutorials, visit the Vivid-Pix website.
Cost: USB flash drives are available to purchase at $1.00 per USB. Cash only.